A custom keyboard can be a beautiful sight to behold. You need the right parts, knowledge, and tools before you build one. This guide will help you create your dream mechanical keyboard. Let’s begin.
Why the need for custom mechanical keyboards?
Many manufacturers make mechanical keyboards, but why do people build keyboards for themselves. There are a few answers to this question.
- Full customization
As you might have guessed, building your custom mechanical keyboard gives unlimited freedom to personalize your device. You can choose from a wide range of parts to suit your taste.
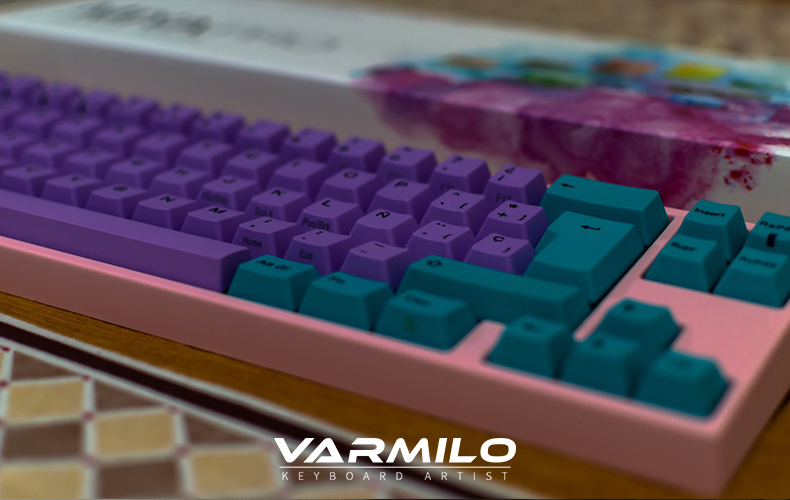
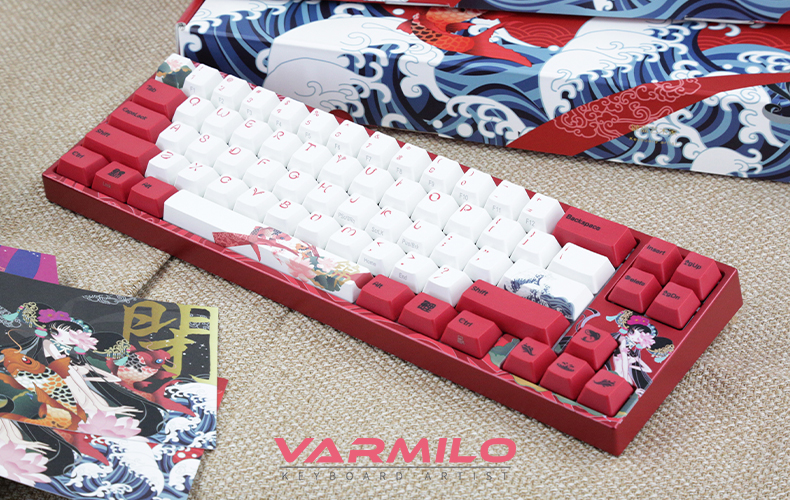
Building your custom mechanical keyboard can bring out the artist in you. You have the keyboard as your canvas to create stunningly beautiful designs and themes. You can make hand paintings on your keycaps, use multicolor keycaps, you are as free as a bird. You can do this to bring a little more style and elegance to your workspace.
- It is fun and challenging
Building a mechanical keyboard from scratch can be exhilarating for people. Making a custom keyboard requires patience, skill, and knowledge on keyboards. This may discourage some from trying, but enthusiasts love the challenge.
It is always good to try new things and improve yourself. Also, the feeling of accomplishment derived from executing a task is therapeutic. Many enthusiasts have made a hobby of building custom mechanical keyboards, and they take much pleasure from it.
Before we dive into the process of making a custom keyboard, there are things you must know.
Parts of the mechanical keyboard.
The mechanical keyboard comprises several parts, and all these parts must be carefully chosen before you start building it. These parts include.
- Case
The case is the outer shell of the keyboard. It protects and supports the internal components.
- Printed Circuit Board
The printed circuit board (PCB) is the brain of the keyboard. It contains all the circuitry and relays information from your keyboard to the computer.
- Plate
The plate is a frame for the switches and other components on the keyboard. You should know that including a plate in your keyboard will affect your switch mounting options. It is an optional feature, but it has its advantages.
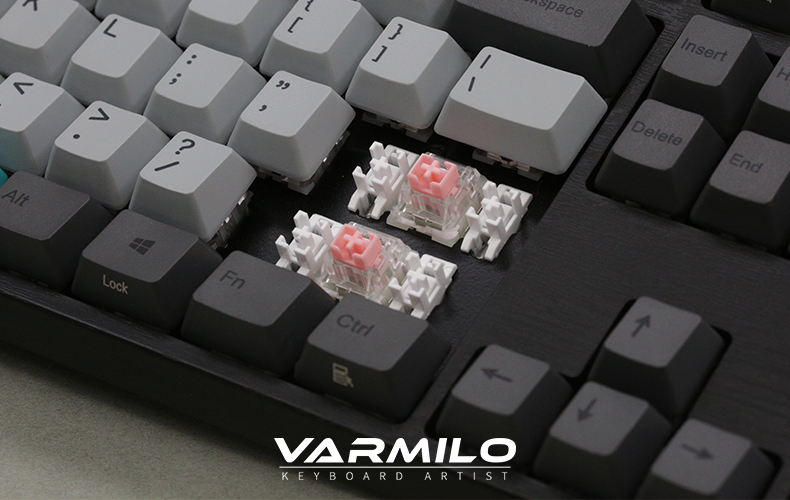
- Switches
Mechanical switches lie beneath all the keys. These tiny devices are responsible for registering or actuating keys. Switches, like other parts of the keyboard, come in various kinds. They are primarily responsible for how the keyboard feels and sounds when in use.
- Stabilizers
The stabilizers are used on the larger keys in a keyboard, like the space key, enter key, etc. They help stabilize these keys and keep them from wobbling.
- Keycaps
The keycaps cover the switches. You can consider them the face of the keyboard.
- LEDs
LEDs are used on backlit keyboards, and some people can’t do without them. For others, this is not a required feature to have on their keyboards.
- Extras
A custom keyboard gives you the freedom to add extra keys and features to it. These extra features can include trackballs, track points, knobs, and others. Adding these will increase your spending.
Let us take a more in-depth look into these mechanical keyboard parts.
Size and layout of custom keyboards.
Before you buy all the parts and build your keyboard, you must know the size you are working with. The size will affect how big the case and the plate will be. It will also determine the number of switches and keycaps you need. There is no best size for a keyboard. You only have to choose the size that is best for you.
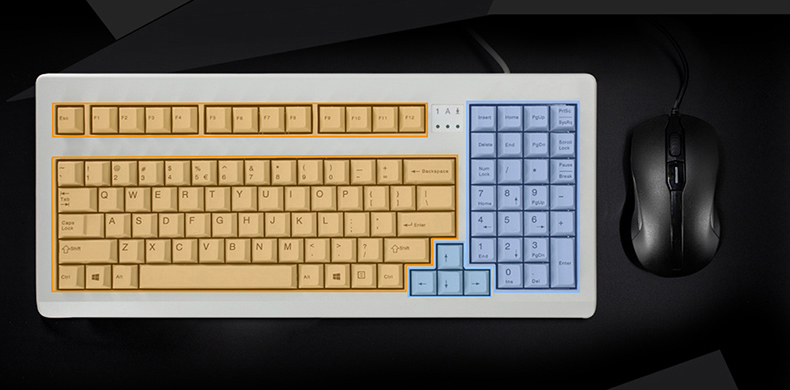
The full-sized or 110/100% is the largest of all keyboards. You can expect this size of the keyboard to contain all the keys. This includes the number pad, the navigation keys, and the function row.
1800 compact contains all the keys of the full keyboard, but it has a smaller footprint.
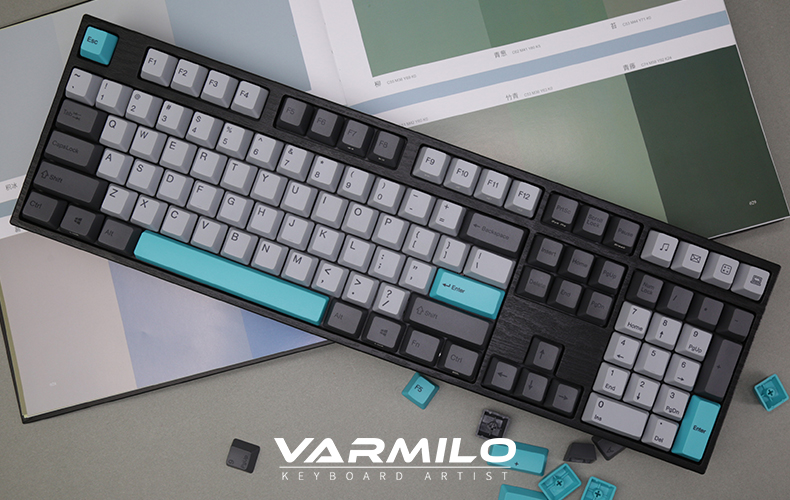
The 80% or tenkeyless is a very prevalent form factor. This layout only lacks the number pad. It is more compact than full keyboards.
Smaller keyboards include 75%, 65%, and 60 keyboards. These keyboards lose more keys as their sizes reduce. For example, the 65% keyboard lacks the arrow keys, function keys, and number pad.
The 40% keyboard is typical among minimalists. It only contains the alphanumeric and other modifier keys.
You can also use designs from ergonomic keyboards to make yours more suited to your taste.
Some form factors are more popular than others. For example, TTKL and 60% keyboards are quite common. Finding the parts for this size of keyboard will be relatively easy.
The good thing is as long as all the internal components are in place, you can custom make your keyboard case to take any size and shape you want.
The Keyboard case.

The keyboard case houses all the internal components of the keyboard. Keyboard cases are basically made of four materials—metal, plastic, wood, and acrylic.
The most common metal used in keyboard cases is aluminum. Other metals used in keyboard cases are stainless steel and brass.
Aluminum is more expensive than other materials. Its weight makes the keyboard sturdier and can give your keyboard a premium look. It is more robust and stiffer than a plastic case. The grade of aluminum and the manufacturing process used will determine the cost.
You should know that the aluminum case can make the keyboard produce more noise while typing. Some people like this, but it may prove to be a distraction for you.
Plastic cases are cheaper options, and it is for those on a budget. Plastic is strong enough to support your keyboard, and it can be durable. It is common for plastic cases to be made of Acrylonitrile butadiene styrene (ABS). Plastic cases tend to rattle a little when you use them, and they are not as strong as metal or acrylic cases.
Acrylic is a plastic material that lets light pass through it like glass. It is the top choice for keyboards with RGB lighting. Acrylic cases are light and tend to be more flexible and fragile than other materials.
Wooden cases are a rare find in custom keyboards and have a certain aesthetic appeal to them. They are solid, durable, and similarly priced with aluminum cases.
If you have the resources, you can make your case at home. A 3D printer is perfect for making cases. The size of your printer may affect how big your case is going to be. You can also choose to use a pre-existing case for your custom mechanical keyboard.
Your case must match the PCB. Some manufacturers sell cases and PCB together.
Printed Circuit Board.
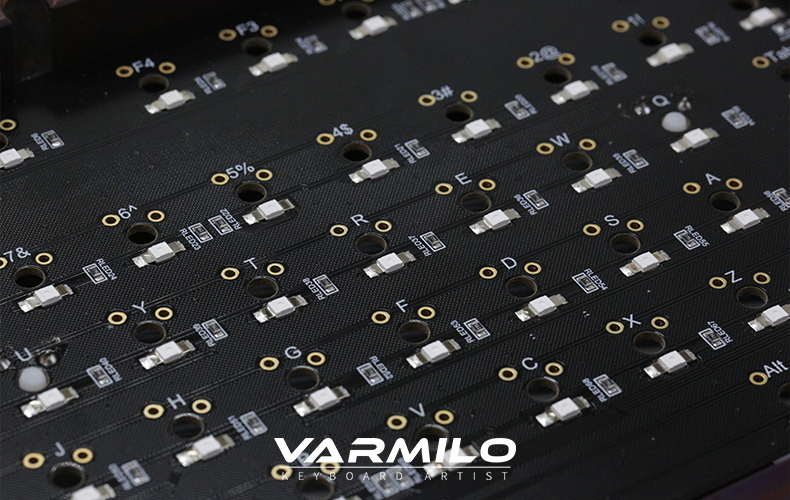
The Printed circuit board is the brain of the keyboard. There are three types of PCBs. They are:
Standard PCB: The Standard Printed circuit board is what most keyboard builders go for. The board requires that you solder all the switches to the board. It gives you a lot of flexibility in terms of key placements.
Through-hole PCB: The through-hole printed circuit board is not for beginners. It requires that you solder all the components on the board, including the diodes, USB ports, controllers, etc.
Hot-swappable PCB: Hot-swappable printed circuit boards are the easiest to work with. If you do not want to solder switches, then you should get a hot-swappable keyboard. The switches are easy to install and change. All you need is to press the switches down on the circuit board.
Some PCBs let you customize the layout of your keyboard. You can make room for more keys by reducing the size of large keys and offsetting their position. You can fully customize ore reprogramme keys on your custom keyboard. Some PCBs also come with pre-soldered LEDs on them. You can solder LEDs on the PCB if you need to.
Mounting Plates.
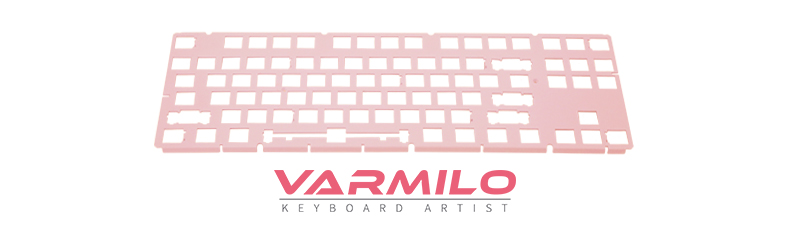
You should get the mounting plate after you have selected your case and the PCB. The plate must conform to the layout and the size of your keyboard and PCB. It would be fantastic to get a mounting plate that accompanies a keyboard case and PCB.
Not having a plate on your custom keyboard makes the keys or switches more wobbly. The mounting plate guides all the switches and gives it extra support. It also makes soldering the switches easier on the board.
Just like other parts of a keyboard, mounting plates are made with different materials. The kind of plate you use will add to the switches’ stiffness and affect typing feels. For example, a steel mounting plate will make your keyboard more sturdy, but some may find the keys to be too rigid or stiff.
Some people prefer the solid feel, but you can opt for a more flexible material such as polycarbonate or carbon fiber if you do not. Other materials used in mounting plates are aluminum, brass, and wood.
Keycaps.
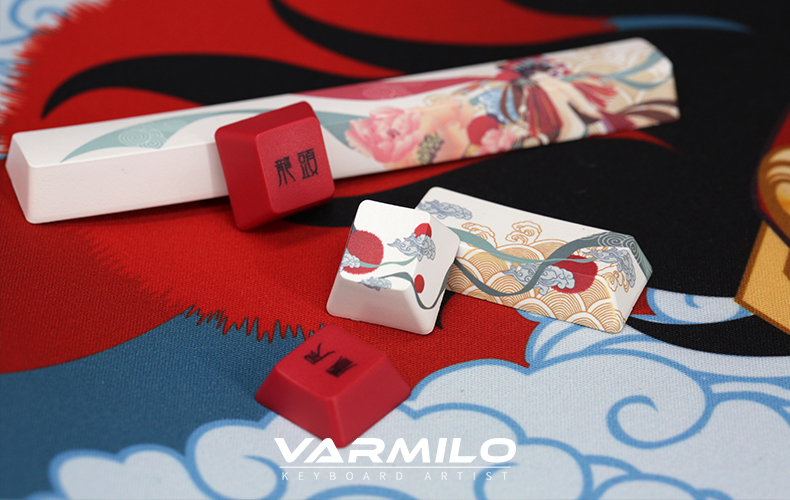
The keycaps cover the keys and switches, and they are the most noticed part of the keyboard. You must already know that keycaps can make a customized keyboard much more beautiful than regular keyboards. They are usually made of plastic, but you can get them in other materials such as wood or metal.
Along with switches, keycaps can slightly affect the feels and the sound of your custom mechanical keyboard. You can get them in different colours and various designs.
- Materials
ABS keycaps are made with Acrylonitrile Butadiene Styrene. It is cheap plastic and is easy to mass-produce. It is a good option if you want to keep the cost of building your keyboard down. ABS keycaps are not as durable or stiff as other options. They tend to develop a shine after some time.
PBT keycaps, on the other hand, are stronger and more durable. This plastic also has a higher melting point. It is stiffer and has a slightly slippery feel. It also costs more.
POM is another excellent material for keycaps. Just like PBT, it is strong, durable, and it costs a little bit more.
Of course, if you do not want to use any of these materials, you can get other types of keycaps. You can get custom-made keycaps with a variety of shapes and designs to match your style.
- Profiles
Keysets come in different profiles. The key profile is the shape taken by the keycaps on your keyboard. Most Keyboards sold have the OEM or the cherry style profile. Other profiles include the SA or the XDA and GMK. You should know that getting keysets for less popular profiles maybe a little more difficult.
- Manufacturing methods
Keycap legends are made in different ways, such as dye-sublimation, printing, laser etching, double-shot, and triple-shot molding. The method and the keycap material used will determine how long the legends will last. For instance, PBT with legends made with the dye-sublimation process lasts a great deal of time.
Mechanical switches.
When it comes to picking the right switch, it boils down to your preference. There are so many switches in the market right now, but they all can be grouped into three.
Linear switches: linear switches have a nice smooth feel to them. Their resistance remains the same if you press and bottom out the switch. It has its advantages, and some people won’t go for anything less than a linear switch. They are the quietest of the switches.
Tactile switches: Tactile switches provide excellent feedback while typing. They have a bump along with the travel distance. This can make typing a little faster and is suitable for those who exert more force on their keyboard.
Clicky switches: Clicky switches, like tactile switches, provide feedback. It produces a sound when you have actuated a key. People who love to type usually go for this switch. Clicky switches are the loudest, so you should put this into consideration.
With switches, the devil is in the details. Other things that should influence your choice of switches include the activation distance, activation force, reset point, etc. These things, along with the quality of materials used, will affect the switch’s performance.
Popular switch manufacturers are Varmilo, Cherry, Kailh, etc.
Stabilizers.
The stabilizers support larger keys and improve the typing experience on them. The two main types of stabilizers are cherry stabilizers and costar stabilizers. Stabilizers can be plate mounted, PCB mounted or snapped in.
Plate mounted stabilizers are commonly found in pre-built keyboards. PCB mounted keyboards are screwed right into the circuit board, and they give a more wholesome experience.
Snap-in stabilizers snap directly to the keyboard. They rattle a bit more than PCB mounted stabilizers.
Tools you will need before you begin.
Now that you are familiar with all the parts, you need tools. All these tools and materials can easily be gotten online or in your local hardware store.
- Soldering Iron: Unless you buy a hot-swappable PCB, you will need a soldering iron. We recommend a low watt soldering iron if you have little to no experience with soldering. This won’t let the solder as fast and is more convenient to use. Having a stand will also make working with soldering iron more convenient. Having a heat-insulated mat is a good precautionary measure.
- Solder: You will need to make the right choice of solder to work effectively. Lead-free solder is harder to work with, but it is better for your health and the environment. A 63/37 tin-lead solder is highly recommended for easier work.
- Solder sucker: A solder sucker or a desoldering pump is a useful tool to have while soldering. It is common to make a few mistakes while building your custom mechanical keyboard, especially if it is the first time. If you want to reuse a switch or correct mistakes, then you need one.
- Filtration system: Lead fumes are toxic and harmful to your health, and you will need a filtration system to get rid of them. A solder fume extractor will do just fine.
- Screwdriver kit: Having the right kit will come in handy and mounting components such as the case, stabilizer, and others.
- Other tools: You might need other tools to modify other components, such as the switches and the stabilizers. These tools and materials include switch opener, switch pullers, lube, and antistatic tweezers.
You are assembling your keyboard.
Clear your workspace and get all the parts and tools you need. If you need to modify your switches and stabilizers, now is the time. Lubing the switches and the stabilizers can give them a smoother feel and reduce noise. (Lubing can dampen the sound clicky switches make)
The following steps will guide you through the assembling process.
- Inspect your PCB
The very first thing to do before you begin to assemble your keyboard is to check if the PCB works. You will need tweezers for this. You can do this by plugging it into your computer with a compatible USB cable.
The tweezers act like switches and complete the circuit and then registers a key. You should be careful with the PCB so you wouldn’t damage the electrical components. You can also test the PCB with switch testing software.
- Install the stabilizers
Your stabilizers go in first in your PCB. Find the right holes for them and carefully align the prongs or the stabilizers’ pins on the PCB. You must get the stabilizers’ orientation because going back to correct the mistake after assembling the keyboard will be very stressful.
- Install your switches on the plate and PCB
First off, you need to align the plate with the PCB. This can be difficult to do while installing the switches. We recommend you start by first installing switches at the corners of the PCB. This will make your work more convenient and will stop the plate from flexing inappropriately.
If your set up is without the plate, you can go ahead to install the switches on the PCB.
Align the pins carefully in the right holes. If the pins bend will installing them, you can straighten them with a tweezer. Make sure all the switches are in the right spot, especially the switches on the bottom row.
Press the switches firmly through the plate and into the PCB. If the pins are too short, it can affect the conductivity.
This is the time to get all your LED lights into the PCB. Single color LED lights to have two pins—a longer one for positive and the shorter for negative. Find the holes for the LEDs and look for the positive and negative labels for them. Align the LEDs and insert them.
- Solder all the components
Flip the board and the plates over to solder the switches and the lights. You may need to first practice with something else to get how to make the right size of beads. Make sure you solder in a well-ventilated area.
An excellent place to start is with the switches at the corner and work your way through the board. When you are done, inspect the solder joints and clean up. Test the board again to check if all the switches are working.
- Assemble the PCB and plate in the case
Before you assemble everything right in the case, you can opt to fill empty spaces with some foam to improve the acoustics and make it a bit sturdier. Installing the PCB involves screwing them to the plate, depending on your mounting option.
- Install the Keycaps
The final step in the building process is to fit all the keycaps on the switches. This process is quite simple. Just press down the right keycaps on their stems, and that’s all.
All that is left now is to test out your custom mechanical keyboard and enjoy it.
Conclusion.
Building a custom mechanical keyboard involves patience and planning. Finding the right parts and building seems technical at first, but it is not so difficult.
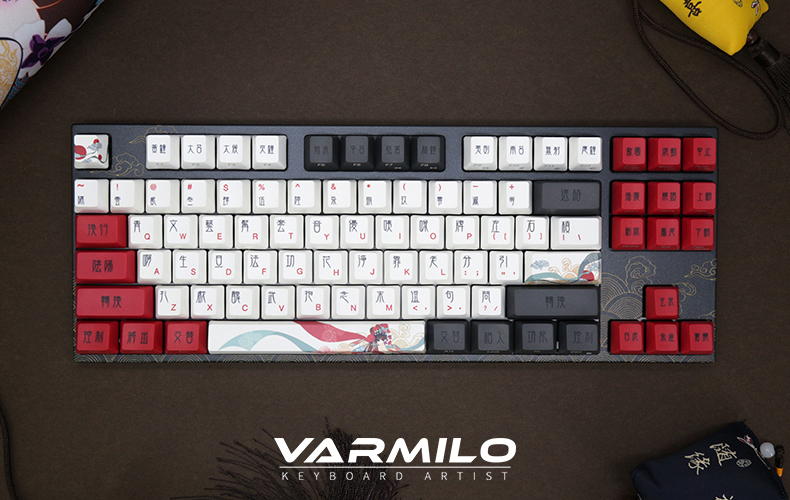
If you are looking for beautiful mechanical keyboards, you don’t need to build one for yourself. Varmilo has got you covered.
Varmilo is a peripherals brand owned by Shenzhen Zhihaihe Technology Co., Ltd.
They make mechanical keyboards with breathtaking designs and themes. Their new Beijing Opera theme EC mechanical keyboards will blow you away.