We spend a massive amount of time on keyboards. Although we prefer to use the unclean hands (or fingers) keyboard much of the time, there are possibilities that it will need rigorous cleaning from time to time. And while we’ve written a post about how to clean a keyboard, you’d still like to strip keyboard keys and learn how to remove keycaps without hardware or tools. The easiest way to clean a keyboard would be to remove the keycaps.

Why Do You Need to Remove Your Keyboard Keycaps?
The optimal way to clean the keyboard will be to detach the keycaps so you can know how to remove the keyboard keys. Removing the keycaps helps you to have a good picture of the dust and any particles that may have been collected within the keycaps. Being able to remove keycaps can prove to be helpful because once that is finished, you will be able to use means such as compressed air to clean the debris quickly.
Cleaning your keycaps will be a wonderful way to help you change the appearance of your keyboard. If you have light-colored keycaps, this will be more effective and efficient. If you detach the keyboard, it could be one of the best ways to help you tidy it up for an improved experience.
How to Remove Keycaps without Tool – Mechanical Keyboard?
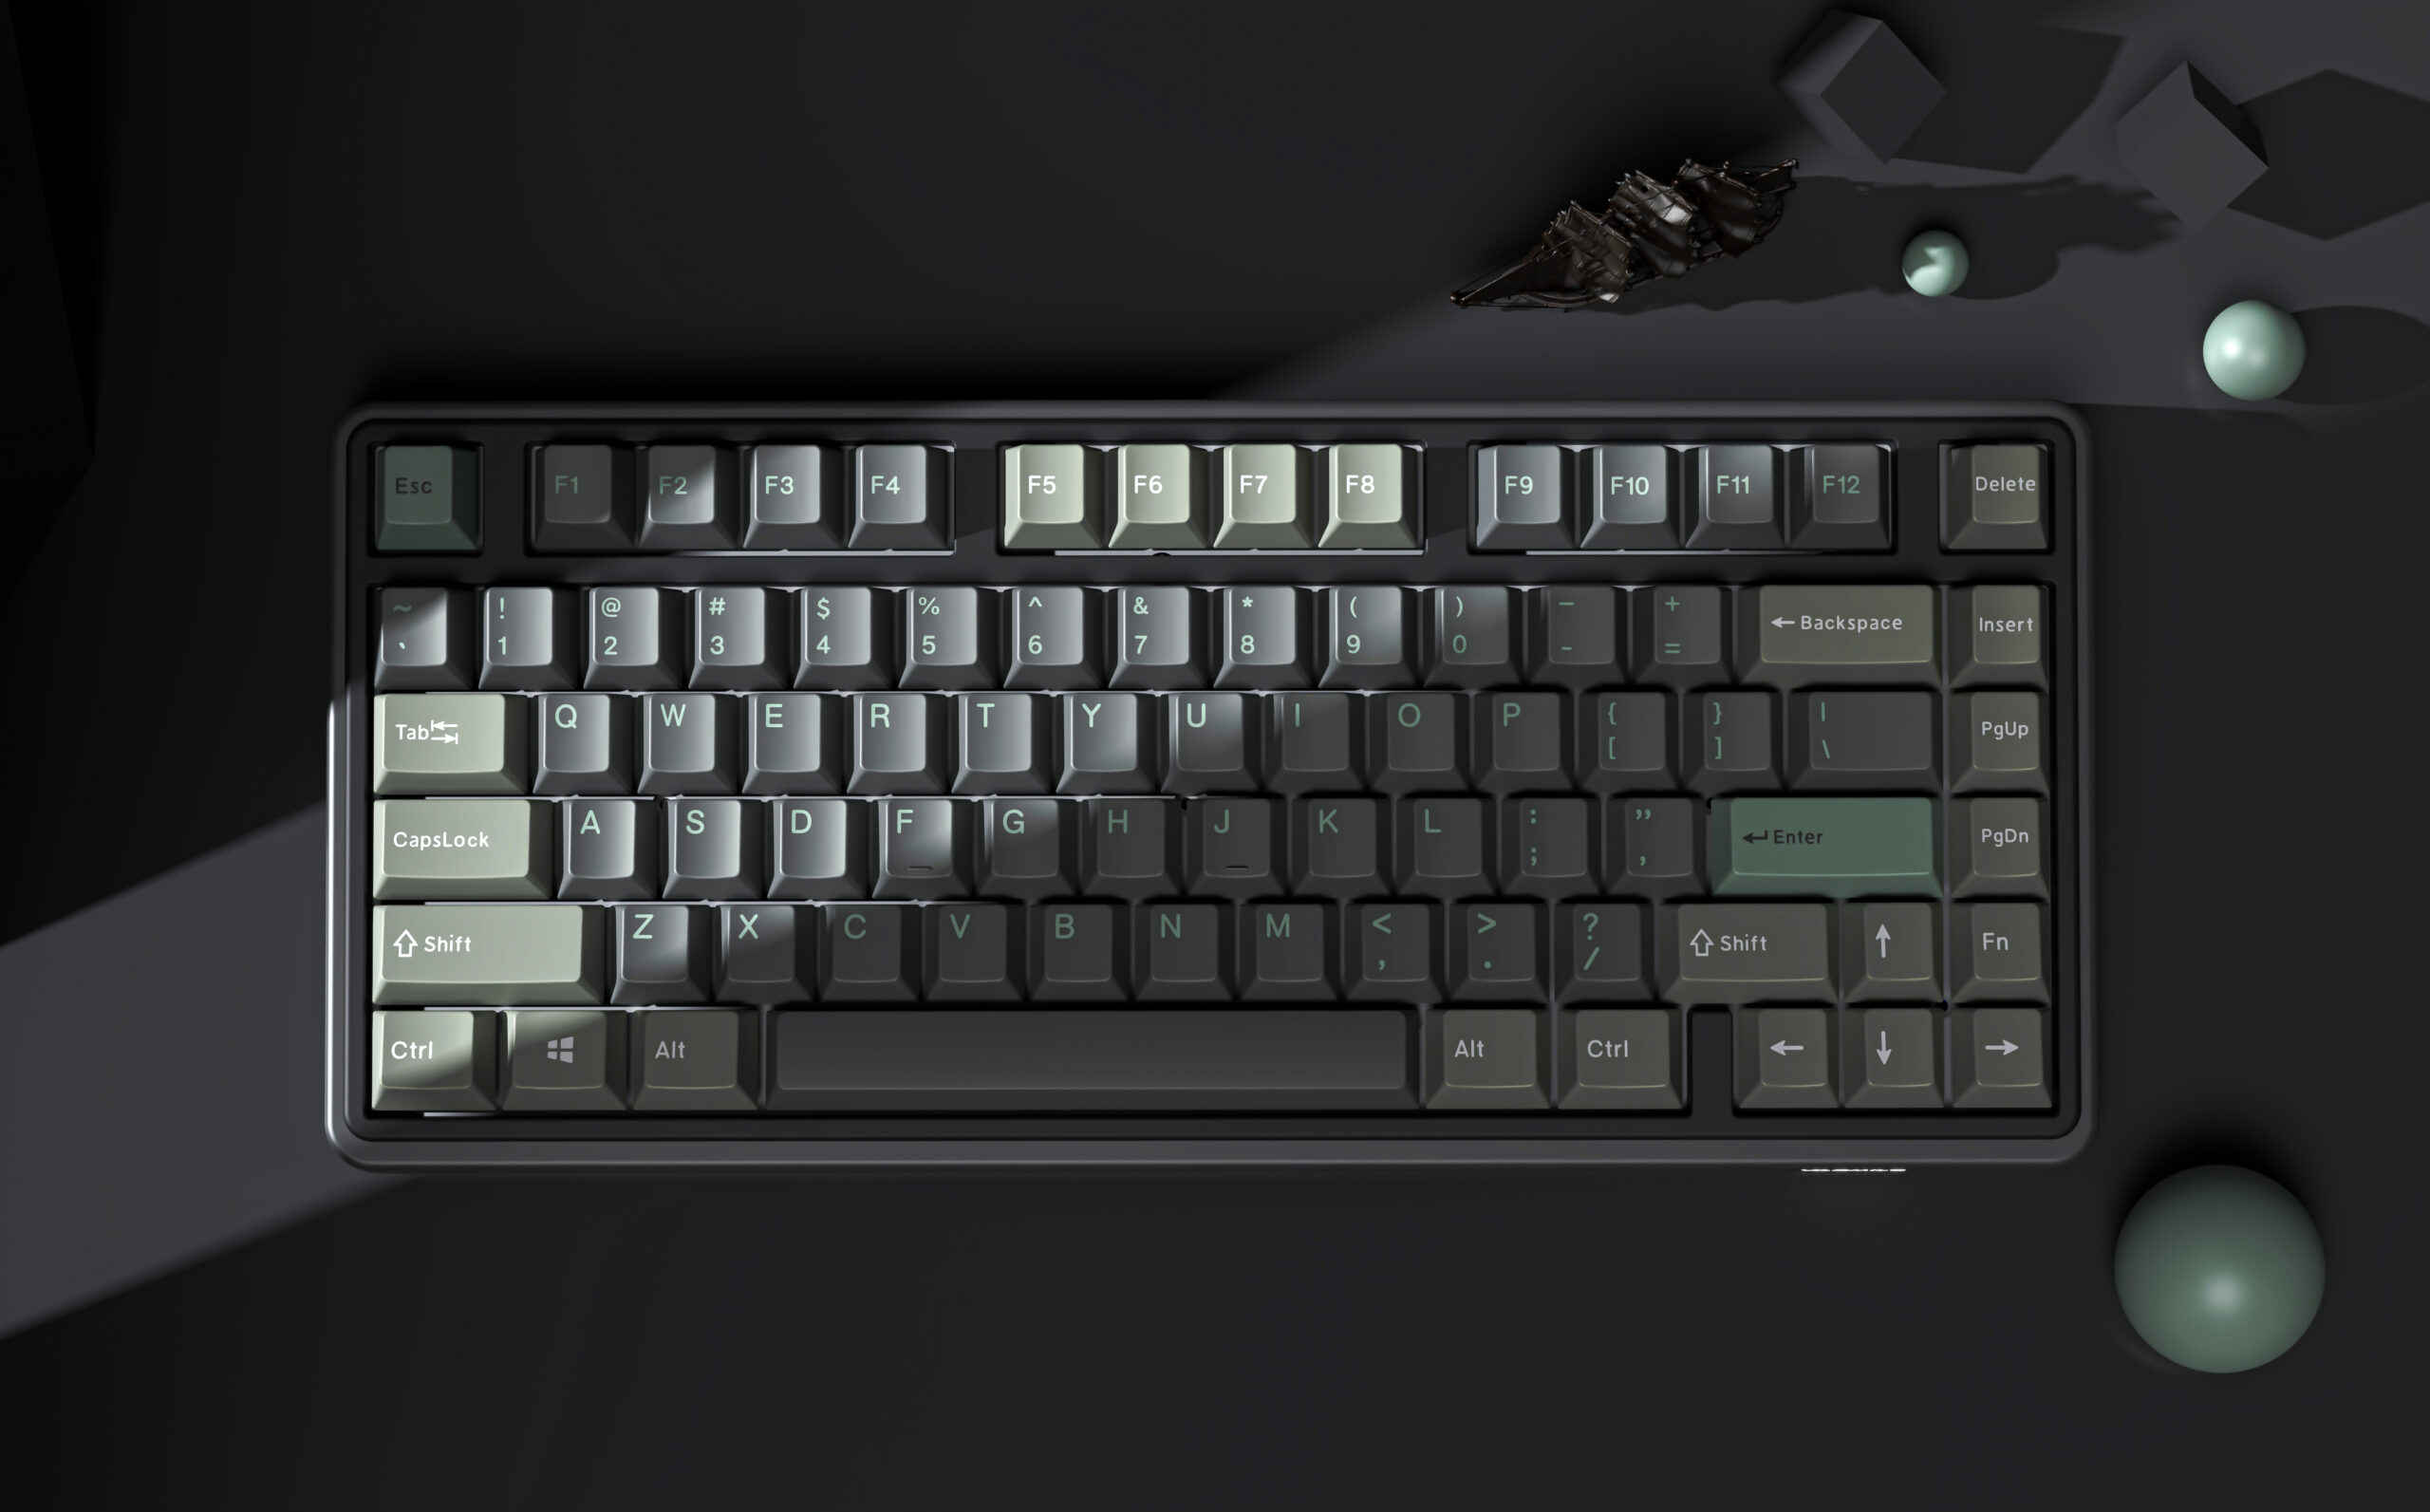
These are the best keyboards for those looking for the best choices for a gaming keyboard or enhanced keyboard experience. These keyboards come with key switches located below each key. The keys on the mechanical keyboard come with a keyboard that has the number, letter, or symbol that you press as you type.
Behind the keycap is a stem that lowers when the keycap is pushed, and then there’s a housing that holds both items in place. The spring-loaded switch controls the individual circuitry on the PCB and registers the keypress as you press the keycap. Mechanical keyboards come with a range of benefits and have proven the best in gaming keyboards.
In optimal settings, you would require a keycap puller to remove the keycaps on the mechanical keyboard. Although some keyboards come with a keycap puller, a few others may not be offering it as part of the sales kit.
However, since we’re curious about how to detach keycaps without tools on a mechanical keyboard, we’re going to use a paper clip or a credit card, or an equivalent wedge.
Below are the steps to remove keycaps without a tool:
- Move the keyboard you want to remove the keycaps to a safe, dry spot on your desktop.
- To cover keycaps, use a twisted paper clip or a credit card.
- You can also use things such as a house key, a knife, or if you have an outdated PC chassis, you can use a PV porthole. The intention is to apply the same pressure in the upward direction on the opposite side of the key.
- Pull the keycap by adding the same pressure. Make sure you don’t bend the keycap in any one way.
- The keycap is expected to disassemble itself from the turn below and come off.
- The larger or longer keys will require extra care as they come with additional help, which could get broken during the cleaning process.
Unless your keyboard has LED lights, you may need to take extra precautions not to harm them. It would be better to switch off the light and turn it off.
Removing keycaps from a mechanical keyboard would be a lot easier and simple than using a membrane keyboard. One of the best bits is that you don’t need to open a keyboard, much like a membrane keyboard. You may easily delete keycaps without needing to open a keyboard or handle a PCB.
Another benefit provided by the mechanical keyboard is that only a certain group of keys can be cleaned if you don’t feel the need to erase all keycaps. This can be one of the realistic alternatives if you have some sticky keys that need to be discussed.

How to Clean Mechanical Keyboards Keys?
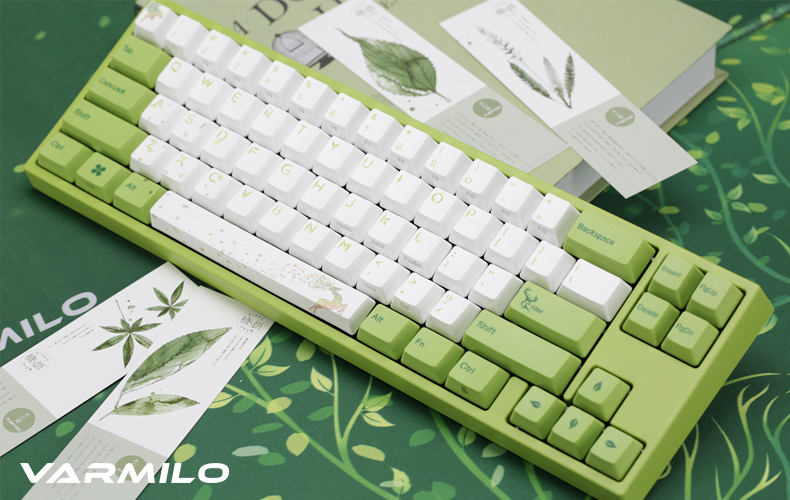
High-quality mechanical keyboards will last for decades, and Varmilo Keyboard products are no different. There is one catch: rust and grime are going to consume the keyboard well before the switches or circuitry begin to malfunction. Cleaning, the most critical maintenance job of the keyboard, can keep pollutants in place. Spills are a whole different thing, so they’re going to have their own portion.
The keycaps above are not from the same keyboard, but they demonstrate the difference that this guide will make. Let’s look at the following keyboard cleaning tiers without further ado.
1. Periodical Cleaning
It would help if you disinfected the keyboard on a regular basis. Preventing grim build-up is vital, and it’s much more crucial if you’re eating next to your keyboard. Over time, dust and food would be partly fused to the painted metal plate that protects each key turn. This is both disgusting and inconvenient since the fragments have to be wiped clean once they are attached.
1. Unplug the keyboard.
2. Use a vacuum to clear dust from the plate. Slowly pressing the vacuum attachment tube down on the keycaps and eventually operating on each key on the keyboard would provide the best results. Small portable vacuums without revolving brushes are working well.
3. Clean off the whole keyboard with a slightly moist microfiber rag.
4. Dry the cloth with another cloth. Do not use a paper towel since paper towels can shed dust on the keyboard and produce tiny scratches on the surface of the towel.
Avoid canned air at all times when washing keyboards since there are two potential harmful side effects. First, the canned air is very cold when it’s released. This will allow condensation to form on scratches or worn metal surfaces, which could lead to corrosion or melting. Canned air will also spray dust directly onto the switches of the keyboard, resulting in an uncomfortable gritty sensation. Vacuum cleaners solve these problems by dragging room temperature air and, thus, dust away from the switches.
2. Deferred Cleaning
Some grime is stubborn, clinging to the pan through daily vacuum treatments and wiping down. In addition, a coat of finger oils can eventually build up on the keyboard keycaps. Fortunately, there are tried and tested approaches to address these problems.
1. Unplug the keyboard.
Using a keycap puller to detach the keycaps from your keyboard, most of the large keys are stabilized with wires (space, input, transfer, etc.) which makes it more difficult to remove. If you’re not happy cleaning and resetting them, it’s safer to scrub them with a slightly damp microfiber rag.
- Clean the keycaps with a denture tablet or dish soap.
Put the keycaps in a bag, cover the keycaps with warm water and place two tablets in the bathtub. Soak for at least 6 hours, rinse thoroughly and position the keycaps out of the stem to dry air. It will take some time for the water to dissolve from the keycaps plus (+) shaped recesses.
- While the keycaps are drenching, use a small stiff-bristle brush (or a dry Q-tip that may cause a few bits of unwanted fuzz) to loosen the particulate matter that has stuck to the plate. Make sure you avoid letting the brush bristles next to the switch stems. The bristles may force the dust deep into the switch, stopping the vacuum from being removed.
- Vacuum the plate rigorously with a handheld roller-less model or a full-size machine attachment tube. If the vacuum doesn’t pick up, turn the keyboard upside down and let it fall off.
- If there is a goo-filled spot on the pan, use a slightly moist rag or a Q-tip to clean the mess away. Other small cleaning tools are also viable. If necessary, avoid moistening the keyboard switches.
6.Put the keyboard face down while the keycaps are dry to avoid the build-up of dust.
7. Replace the keycaps.
8. Wipe the case down with a very moist cloth of microfiber.
9. Dry it with a piece of linen, not paper towels. Paper towels leave behind particles and scratches.

What are the benefits of cleaning the keyboard on a regular basis?
Cleaning your mechanical keyboard can be extraordinarily useful in more than one way. In reality, a keyboard was deemed to be one of the most impure elements which could make you ill. It is essential to keep the keyboards cleaner in order to ensure the unintended consequences of the keyboards. Now that you’ve mastered how to remove the keys from the mechanical keyboard. Below are some of the advantages of cleaning the keyboard:
- Proper cleaning can be useful in keeping the keyboard exceptionally clean and looking fresh.
- It can be beneficial in untimely failure and overheating problems.
- Cleaning extracts pollen and other contaminants from the keyboard.
A few Don’ts When Cleaning a Mechanical Keyboard
Below are some of the don’ts while learning how to remove and clean mechanical keyboard keys:
- Never apply a high-pressure spray, as it can harm the rust and PCB springs.
- If you’ve used some liquid cleaner, please ensure that the keyboard components are not reconnected until they dry up.
- Do not use a sticky compound, such as jelly, which is discovered to be too sticky.
- And ultimately, don’t eat or drink while you’re working on a keyboard. The spills on the keyboard and the food crumbs can prove to be incredibly difficult to manage. In reality, it can also be an unhealthy habit as the keyboard can contain bacteria and can enter the body.
Conclusion
Even though cleaning your mechanical keyboard is one of the most valuable habits to develop, you should also learn how to remove keycaps without using a tool, if necessary. It’s worth noting that, while it’s straightforward to pick stuff up from a guide like this, performing the steps in the correct order is essential to remove the keycaps successfully. Before you proceed to delete the keycaps and clean your keyboard, double-check if you have fully comprehended this post. Hence, this post will help you on how to securely remove keys from a keyboard and how to remove keys from a mechanical keyboard.